Chrome Extension File Structure: A Developer's Complete Guide (2025)
Master the Chrome extension file structure with this comprehensive guide. Learn manifest.json configuration, icon sizes, folder organization, and debugging tips for Manifest V3.
Building a Chrome extension? Before you write a single line of code, you need to understand how Chrome extensions are structured.
I've seen developers waste hours debugging issues that come down to one thing: incorrect file structure. A misplaced manifest.json, wrong icon dimensions, or missing permissions can break your entire extension.
This guide covers everything you need to know about Chrome extension file structure in 2025, including Manifest V3 requirements that are now mandatory.
The Anatomy of a Chrome Extension
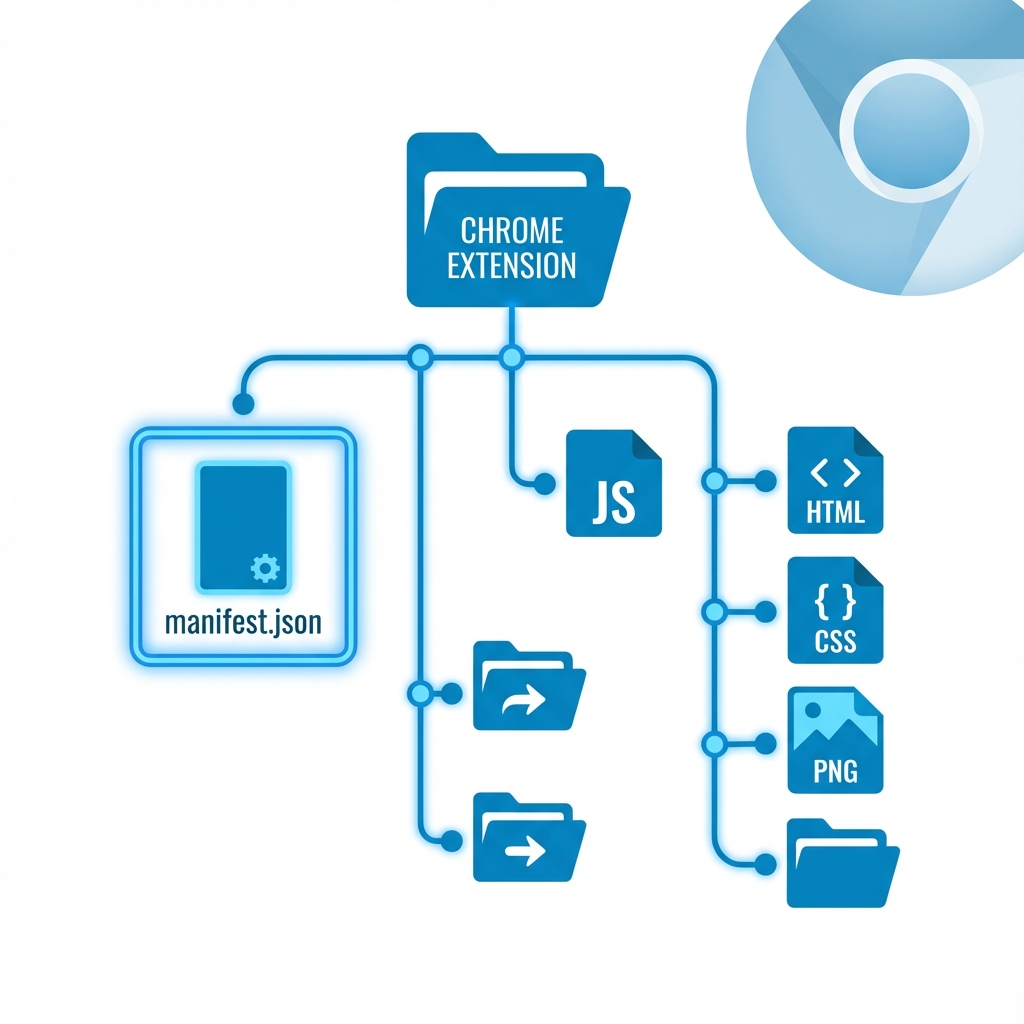
Every Chrome extension is essentially a folder containing specific files that Chrome knows how to read. Here's the standard structure:
my-extension/
├── manifest.json          # Required: Extension configuration
├── background.js          # Service worker (Manifest V3)
├── content.js             # Runs on web pages
├── popup/
│   ├── popup.html         # Popup UI
│   ├── popup.js           # Popup logic
│   └── popup.css          # Popup styles
├── options/
│   ├── options.html       # Settings page
│   └── options.js         # Settings logic
├── icons/
│   ├── icon-16.png        # Favicon, toolbar
│   ├── icon-32.png        # Windows computers
│   ├── icon-48.png        # Extensions page
│   └── icon-128.png       # Chrome Web Store
├── assets/
│   └── styles.css         # Shared styles
└── _locales/              # Internationalization
    └── en/
        └── messages.json
Let's break down each component.
The manifest.json File (The Heart of Your Extension)
The manifest.json file is required for every Chrome extension. It tells Chrome everything about your extension: what files to load, what permissions to request, and how to display it.
Minimal Manifest V3 Example
{
  "manifest_version": 3,
  "name": "My Extension",
  "version": "1.0.0",
  "description": "A helpful Chrome extension",
  "icons": {
    "16": "icons/icon-16.png",
    "32": "icons/icon-32.png",
    "48": "icons/icon-48.png",
    "128": "icons/icon-128.png"
  },
  "action": {
    "default_popup": "popup/popup.html",
    "default_icon": {
      "16": "icons/icon-16.png",
      "32": "icons/icon-32.png"
    }
  }
}
Complete Manifest V3 Reference
Here's a comprehensive manifest.json with all common fields:
{
  "manifest_version": 3,
  "name": "My Extension",
  "version": "1.0.0",
  "description": "A helpful Chrome extension that does X, Y, and Z",

  "icons": {
    "16": "icons/icon-16.png",
    "32": "icons/icon-32.png",
    "48": "icons/icon-48.png",
    "128": "icons/icon-128.png"
  },

  "action": {
    "default_popup": "popup/popup.html",
    "default_icon": {
      "16": "icons/icon-16.png",
      "32": "icons/icon-32.png"
    },
    "default_title": "Click to open"
  },

  "background": {
    "service_worker": "background.js",
    "type": "module"
  },

  "content_scripts": [
    {
      "matches": ["https://*.example.com/*"],
      "js": ["content.js"],
      "css": ["assets/content.css"],
      "run_at": "document_idle"
    }
  ],

  "permissions": [
    "storage",
    "activeTab",
    "alarms"
  ],

  "host_permissions": [
    "https://*.example.com/*"
  ],

  "options_page": "options/options.html",

  "web_accessible_resources": [
    {
      "resources": ["assets/*"],
      "matches": ["<all_urls>"]
    }
  ],

  "commands": {
    "_execute_action": {
      "suggested_key": {
        "default": "Ctrl+Shift+Y",
        "mac": "Command+Shift+Y"
      },
      "description": "Open the extension popup"
    }
  }
}
Manifest V3 vs V2: Key Differences
| Feature | Manifest V2 (Deprecated) | Manifest V3 (Required) |
|---|---|---|
| Background | background.page or scripts | service_worker |
| API | browser_action / page_action | action |
| Remote Code | Allowed | Not allowed |
| Permissions | Combined | Split into permissions and host_permissions |
Important: As of January 2025, Manifest V2 is fully deprecated. All new extensions must use Manifest V3.
Chrome Extension Icon Sizes (Complete Reference)
One of the most common questions: What icon sizes do I need?
Here's the definitive answer:
Required Icon Sizes
| Size | Purpose | Where It's Used |
|---|---|---|
| 16x16 | Toolbar icon, favicon | Browser toolbar, context menus |
| 32x32 | Windows computers | Taskbar, high-DPI toolbar |
| 48x48 | Extensions page | chrome://extensions |
| 128x128 | Chrome Web Store | Installation prompt, store listing |
Icon Best Practices
- Use PNG format with transparent backgrounds
- Design at 128x128 first, then scale down
- Test at small sizes - your icon should be recognizable at 16x16
- Avoid thin lines - they disappear at small sizes
- Use simple shapes - complex icons look muddy when scaled
Icon Declaration in manifest.json
{
  "icons": {
    "16": "icons/icon-16.png",
    "32": "icons/icon-32.png",
    "48": "icons/icon-48.png",
    "128": "icons/icon-128.png"
  },
  "action": {
    "default_icon": {
      "16": "icons/icon-16.png",
      "32": "icons/icon-32.png"
    }
  }
}
Pro tip: You can also use SVG icons for the toolbar action, which scale perfectly:
{
  "action": {
    "default_icon": "icons/icon.svg"
  }
}
Where Are Chrome Extensions Stored?
Understanding where Chrome stores extensions helps with debugging and development.
Extension Installation Location
Windows:
C:\Users\[Username]\AppData\Local\Google\Chrome\User Data\Default\Extensions\
Mac:
~/Library/Application Support/Google/Chrome/Default/Extensions/
Linux:
~/.config/google-chrome/Default/Extensions/
Extension Folder Structure
Inside the Extensions folder, each extension has its own directory named by its extension ID:
Extensions/
├── abc123def456...    # Extension ID
│   └── 1.0.0_0/       # Version folder
│       ├── manifest.json
│       ├── background.js
│       └── ...
├── xyz789ghi012...    # Another extension
│   └── 2.1.0_0/
│       └── ...
Finding Your Extension ID
- Go to
chrome://extensions - Enable "Developer mode"
- Your extension's ID is shown below the name
The Background Service Worker
In Manifest V3, background scripts are replaced by service workers. Here's what you need to know:
background.js Structure
// background.js - Service Worker

// Runs when extension is installed
chrome.runtime.onInstalled.addListener((details) => {
  if (details.reason === 'install') {
    console.log('Extension installed!');
    // Set default settings
    chrome.storage.local.set({ enabled: true });
  }
});

// Listen for messages from content scripts
chrome.runtime.onMessage.addListener((message, sender, sendResponse) => {
  if (message.type === 'getData') {
    // Handle the request
    sendResponse({ data: 'Hello from background!' });
  }
  return true; // Required for async response
});

// Listen for tab updates
chrome.tabs.onUpdated.addListener((tabId, changeInfo, tab) => {
  if (changeInfo.status === 'complete') {
    // Tab finished loading
  }
});
Service Worker Limitations
- No DOM access - Service workers can't access
documentorwindow - Terminated when idle - Chrome kills inactive service workers
- No persistent state - Use
chrome.storageinstead of variables - No
setTimeoutfor long delays - Usechrome.alarmsinstead
Keeping State Across Service Worker Restarts
// DON'T DO THIS - Will be lost when service worker restarts
let userData = {};

// DO THIS INSTEAD - Persists across restarts
chrome.storage.local.get(['userData'], (result) => {
  const userData = result.userData || {};
});
Content Scripts
Content scripts run in the context of web pages. They can read and modify the DOM.
content.js Structure
// content.js - Runs on matched pages

// Wait for DOM to be ready
if (document.readyState === 'loading') {
  document.addEventListener('DOMContentLoaded', init);
} else {
  init();
}

function init() {
  console.log('Content script loaded!');

  // Modify the page
  const element = document.querySelector('#target');
  if (element) {
    element.style.backgroundColor = 'yellow';
  }

  // Send message to background script
  chrome.runtime.sendMessage({ type: 'pageLoaded', url: window.location.href });
}

// Listen for messages from background script
chrome.runtime.onMessage.addListener((message, sender, sendResponse) => {
  if (message.type === 'highlight') {
    document.body.style.border = '5px solid red';
    sendResponse({ success: true });
  }
});
Content Script Matching Patterns
{
  "content_scripts": [
    {
      "matches": ["https://*.google.com/*"],
      "exclude_matches": ["https://mail.google.com/*"],
      "js": ["content.js"],
      "css": ["content.css"],
      "run_at": "document_idle"
    }
  ]
}
Match pattern syntax:
*= any string<all_urls>= all URLs (use cautiously)https://*.example.com/*= all subdomains of example.com
Popup Files
The popup appears when users click your extension icon.
popup.html
<!DOCTYPE html>
<html>
<head>
  <meta charset="UTF-8">
  <meta name="viewport" content="width=device-width, initial-scale=1.0">
  <link rel="stylesheet" href="popup.css">
</head>
<body>
  <div class="container">
    <h1>My Extension</h1>
    <button id="actionBtn">Do Something</button>
    <div id="status"></div>
  </div>
  <script src="popup.js"></script>
</body>
</html>
popup.css
/* Set explicit dimensions - popups don't auto-size */
body {
  width: 300px;
  min-height: 200px;
  margin: 0;
  padding: 16px;
  font-family: -apple-system, BlinkMacSystemFont, 'Segoe UI', Roboto, sans-serif;
}

.container {
  display: flex;
  flex-direction: column;
  gap: 12px;
}

button {
  padding: 10px 16px;
  background: #4285f4;
  color: white;
  border: none;
  border-radius: 4px;
  cursor: pointer;
}

button:hover {
  background: #3367d6;
}
popup.js
// popup.js

document.addEventListener('DOMContentLoaded', () => {
  const button = document.getElementById('actionBtn');
  const status = document.getElementById('status');

  button.addEventListener('click', async () => {
    // Get the active tab
    const [tab] = await chrome.tabs.query({ active: true, currentWindow: true });

    // Send message to content script
    chrome.tabs.sendMessage(tab.id, { type: 'highlight' }, (response) => {
      if (response?.success) {
        status.textContent = 'Done!';
      }
    });
  });
});
Important: Popups close when they lose focus. Save state to chrome.storage if needed.
Options Page
Options pages let users configure your extension.
Declaring an Options Page
{
  "options_page": "options/options.html",
  // OR for a popup-style options
  "options_ui": {
    "page": "options/options.html",
    "open_in_tab": false
  }
}
options.html
<!DOCTYPE html>
<html>
<head>
  <meta charset="UTF-8">
  <title>Extension Options</title>
  <link rel="stylesheet" href="options.css">
</head>
<body>
  <h1>Settings</h1>

  <div class="option">
    <label>
      <input type="checkbox" id="enabled">
      Enable extension
    </label>
  </div>

  <div class="option">
    <label for="theme">Theme:</label>
    <select id="theme">
      <option value="light">Light</option>
      <option value="dark">Dark</option>
    </select>
  </div>

  <button id="save">Save</button>
  <div id="status"></div>

  <script src="options.js"></script>
</body>
</html>
options.js
// Load saved settings
chrome.storage.sync.get(['enabled', 'theme'], (result) => {
  document.getElementById('enabled').checked = result.enabled ?? true;
  document.getElementById('theme').value = result.theme ?? 'light';
});

// Save settings
document.getElementById('save').addEventListener('click', () => {
  const enabled = document.getElementById('enabled').checked;
  const theme = document.getElementById('theme').value;

  chrome.storage.sync.set({ enabled, theme }, () => {
    const status = document.getElementById('status');
    status.textContent = 'Settings saved!';
    setTimeout(() => status.textContent = '', 2000);
  });
});
Loading Your Extension for Development
Step 1: Open Extensions Page
Navigate to chrome://extensions in Chrome.
Step 2: Enable Developer Mode
Toggle "Developer mode" in the top-right corner.
Step 3: Load Unpacked
Click "Load unpacked" and select your extension folder.
Step 4: Reload After Changes
After making changes:
- Click the refresh icon on your extension card
- Or press Ctrl+R on the extensions page
Loading Extension from ZIP
You can also load extensions from ZIP files during development:
- Unzip the extension to a folder
- Load unpacked as described above
Note: The Chrome Web Store accepts ZIP files for publishing, but for local development, you need to unzip first.
Debugging Chrome Extensions
Debugging the Popup
- Right-click your extension icon
- Select "Inspect popup"
- DevTools opens for the popup
Debugging the Service Worker
- Go to
chrome://extensions - Find your extension
- Click "Service Worker" link under "Inspect views"
Debugging Content Scripts
- Open DevTools on the page (F12)
- Go to "Sources" tab
- Find your content script under "Content scripts"
Common Debugging Issues
| Issue | Solution |
|---|---|
| Changes not appearing | Reload the extension and refresh the page |
| Service worker not running | Check for errors in the service worker console |
| Content script not injecting | Verify URL matches in manifest.json |
| Permission denied | Add required permissions to manifest.json |
Internationalization (_locales)
Support multiple languages with the _locales folder:
_locales/
├── en/
│   └── messages.json
├── es/
│   └── messages.json
└── fr/
    └── messages.json
messages.json
{
  "extensionName": {
    "message": "My Extension",
    "description": "The name of the extension"
  },
  "extensionDescription": {
    "message": "A helpful Chrome extension",
    "description": "The description of the extension"
  },
  "buttonLabel": {
    "message": "Click me",
    "description": "Label for the main button"
  }
}
Using Translations
In manifest.json:
{
  "name": "__MSG_extensionName__",
  "description": "__MSG_extensionDescription__"
}
In JavaScript:
const label = chrome.i18n.getMessage('buttonLabel');
Frequently Asked Questions
What files are required for a Chrome extension?
Only manifest.json is strictly required. However, most extensions include a popup (popup.html, popup.js), icons, and either a background script or content scripts depending on functionality.
Where does Chrome store installed extensions?
On Windows: C:\Users\[Username]\AppData\Local\Google\Chrome\User Data\Default\Extensions\. On Mac: ~/Library/Application Support/Google/Chrome/Default/Extensions/. On Linux: ~/.config/google-chrome/Default/Extensions/.
What icon sizes do I need for a Chrome extension?
You need 16x16, 32x32, 48x48, and 128x128 pixel icons. The 16x16 is for the toolbar, 48x48 for the extensions page, and 128x128 for the Chrome Web Store listing.
Can I use ES modules in Chrome extensions?
Yes! In Manifest V3, add "type": "module" to your background service worker declaration. For content scripts, you'll need to use web_accessible_resources and dynamic imports.
How do I debug a Chrome extension?
For popups: right-click the extension icon and select "Inspect popup". For service workers: go to chrome://extensions, find your extension, and click the "Service Worker" link. For content scripts: use the regular DevTools on the page.
Conclusion
Understanding Chrome extension file structure is foundational to building reliable, maintainable extensions. Here's the quick checklist:
Essential files:
- ✅
manifest.json(Manifest V3) - ✅ Icons in all 4 sizes (16, 32, 48, 128)
- ✅ Service worker for background tasks
- ✅ Content scripts for page interaction
- ✅ Popup files for user interface
Key principles:
- Keep your folder structure organized
- Use service workers correctly (they hibernate!)
- Test all icon sizes before publishing
- Debug with Chrome DevTools
Ready to build your extension? Check out our guide on how to make a Chrome extension for a complete walkthrough from idea to Chrome Web Store.
Need to validate your extension idea first? Use Extension Radar to analyze competitor reviews and find exactly what users are asking for.
Ready to analyze your Chrome extension?
Get AI-powered insights from your reviews in 60 seconds. No scraping required.
Analyze Your Extension Free